
Table of contents
- Introduction
- Install Dependencies
- Generate VAPID Keys
- Set Up the Database
- Create the Push Notification Component
- Add Service Worker (sw.js)
- Set Up Actions for Push Notifications
- Test the Notifications
- Conclusion
Introduction
In this guide, we’ll show you how to implement Push Notifications in NextJS. We’ll build on a previous repository from our earlier articles.
- Next.js 14: Roles and Permissions Step-by-Step Guide
- Biometric Authentication with WebAuthn in Next.js
This repo already includes an authentication system with roles, permissions, and biometric authentication. Now, we’ll add push notifications. If you want to follow along, clone the repository using this link:
git clone https://github.com/Kamleshpaul/nextjs-role-and-permission.git --branch web-push-start-point --single-branchInstall Dependencies
- First, install the necessary packages for push notifications:
pnpm add web-push
pnpm add -D @types/web-pushGenerate VAPID Keys
- Next, generate the VAPID keys using the following command:
npx web-push generate-vapid-keys- Copy the generated public and private keys into your
.envfile:
NEXT_PUBLIC_VAPID_PUBLIC_KEY=your-public-key
VAPID_PRIVATE_KEY=your-private-keySet Up the Database
- We’ll store each user’s push subscription details in a database. Add the following code to set up the database:
export const devicesTable = pgTable("devices", {
id: serial("id").primaryKey(),
pushSubscription: json('push_subscription').notNull(),
userId: integer('user_id').references(() => usersTable.id).notNull(),
});
export const deviceRelations = relations(devicesTable, ({ one }) => ({
user: one(usersTable, {
fields: [devicesTable.userId],
references: [usersTable.id],
}),
}));
export const userRelations = relations(usersTable, ({ one, many }) => ({
devices: many(devicesTable),
}));
export const db = drizzle(pool, {
schema: {
devicesTable,
deviceRelations,
userRelations,
},
});This stores the pushSubscription object for each user.
- Now, run the following commands to generate and apply the database migrations:
pnpm run db:generate
pnpm run db:migrateCreate the Push Notification Component
We’ll create a simple PushNotification component that requests notification permission and registers the user’s device for push notifications.
"use client";
import { useEffect, useState } from "react";
import { Button } from "./ui/button";
import { subscribeUser } from "@/server/actions/webpush.action";
const VAPID_PUBLIC_KEY = process.env.NEXT_PUBLIC_VAPID_PUBLIC_KEY;
export default function PushNotification() {
const [permission, setPermission] = useState<string | null>(null);
const [isServiceWorkerReady, setIsServiceWorkerReady] = useState(false);
useEffect(() => {
const handleNotificationPermission = async () => {
if (typeof Notification !== 'undefined') {
const currentPermission = Notification.permission;
setPermission(currentPermission);
if (currentPermission === 'default') {
const newPermission = await Notification.requestPermission();
setPermission(newPermission);
if (newPermission === 'granted') {
await registerServiceWorker();
} else {
console.error('Notification permission denied');
}
} else if (currentPermission === 'granted') {
await registerServiceWorker();
}
}
};
handleNotificationPermission();
}, []);
async function registerServiceWorker() {
try {
const registration = await navigator.serviceWorker.register('/sw.js', {
scope: '/',
updateViaCache: 'none',
});
if (navigator.serviceWorker.controller) {
setIsServiceWorkerReady(true);
} else {
// Wait for service worker to be installed
registration.onupdatefound = () => {
const installingWorker = registration.installing;
if (installingWorker) {
installingWorker.onstatechange = () => {
if (installingWorker.state === 'installed' && navigator.serviceWorker.controller) {
setIsServiceWorkerReady(true);
}
};
}
};
}
} catch (error) {
console.error('Service Worker registration failed:', error);
}
}
useEffect(() => {
const subscribeToPush = async () => {
if (isServiceWorkerReady) {
try {
const registration = await navigator.serviceWorker.ready;
const sub = await registration.pushManager.subscribe({
userVisibleOnly: true,
applicationServerKey: VAPID_PUBLIC_KEY,
});
const res = await subscribeUser(sub.toJSON());
console.log('Subscription successful:', res.success);
} catch (error) {
console.error('Push subscription failed:', error);
}
}
};
subscribeToPush();
}, [isServiceWorkerReady]);
return (
<div>
{permission === 'denied' ? (
<div style={{ color: 'red' }}>
<p>Notifications are blocked. Please enable them in your browser settings.</p>
<p>To enable notifications, go to your browser settings and allow notifications for this site.</p>
</div>
) : permission === 'default' ? (
<Button onClick={() => Notification.requestPermission().then(setPermission)}>
Allow Notifications
</Button>
) : null}
</div>
);
}Add Service Worker (sw.js)
- Create a
sw.jsfile in thepublicdirectory to handle the push events and display notifications.
self.addEventListener('push', function (event) {
if (event.data) {
const data = event.data.json();
const options = {
body: data.body,
icon: data.icon || '/icon.png',
badge: '/badge.png',
vibrate: [100, 50, 100],
data: {
url: data.url || 'http://localhost:3000',
dateOfArrival: Date.now(),
primaryKey: '2',
},
};
event.waitUntil(self.registration.showNotification(data.title, options));
}
});
self.addEventListener('notificationclick', function (event) {
console.log('Notification click received.', event);
event.notification.close();
const notificationData = event.notification.data;
const urlToOpen = notificationData.url;
event.waitUntil(clients.openWindow(urlToOpen));
});Set Up Actions for Push Notifications
- Add the following code to handle push notification subscriptions and sending notifications:
import webpush from 'web-push';
webpush.setVapidDetails(
'mailto:your-email@example.com',
process.env.NEXT_PUBLIC_VAPID_PUBLIC_KEY!,
process.env.VAPID_PRIVATE_KEY!
);
export interface CustomPushSubscription extends PushSubscription {
keys: {
p256dh: string;
auth: string;
};
}
export default webpush;- Next, set up the action to subscribe users:
'use server'
import { devicesTable } from '../database';
import { db } from '../database';
import { eq } from 'drizzle-orm';
import { getCurrentUser } from '../queries/user';
export async function subscribeUser(sub: any) {
const user = await getCurrentUser();
if (!user.id) {
return {
success: false
}
}
const existingSubscription = await db.query.devicesTable.findFirst({
where: eq(devicesTable.userId, user.id)
});
if (existingSubscription) {
await db.update(devicesTable).set({
pushSubscription: sub
}).where(eq(devicesTable.id, existingSubscription.id));
} else {
await db.insert(devicesTable).values({
pushSubscription: sub,
userId: user.id
});
}
return { success: true };
}Test the Notifications
- Run this command to open localhost with SSL:
pnpm dev --experimental-httpsLogin and navigate to the dashboard. If everything is set up correctly, you should see Subscription successful: in the console, confirming that your device has been successfully registered.
- Finally, create an API to trigger test notifications:
import { db, usersTable } from "@/server/database"
import webpush, { CustomPushSubscription } from "@/server/webpush";
import { eq } from "drizzle-orm"
export const GET = async (request: Request) => {
const { searchParams } = new URL(request.url);
const userId = searchParams.get('userId');
if (!userId) {
return Response.json({
status: false,
message: "Missing userId"
})
}
const user = await db.query.usersTable.findFirst({
where: eq(usersTable.id, Number(userId)),
with: {
devices: true
}
})
if (!user?.devices.length) {
return Response.json({
status: false,
message: "No devices found"
})
}
const device = user.devices[0];
const pushSubscription = device.pushSubscription as CustomPushSubscription;
if (!pushSubscription) {
return Response.json({
status: false,
message: "No push subscription found"
})
}
try {
const res = await webpush.sendNotification(
pushSubscription,
JSON.stringify({
title: 'Test Notification',
body: 'This is a test notification',
icon: '/icon.png',
url: 'https://localhost'
})
);
return Response.json({
status: true,
message: res
})
} catch (error) {
return Response.json({
status: false,
message: error
})
}
}Hit the following endpoint to trigger the notification:
https://localhost:3000/api/trigger-push-notification?userId=1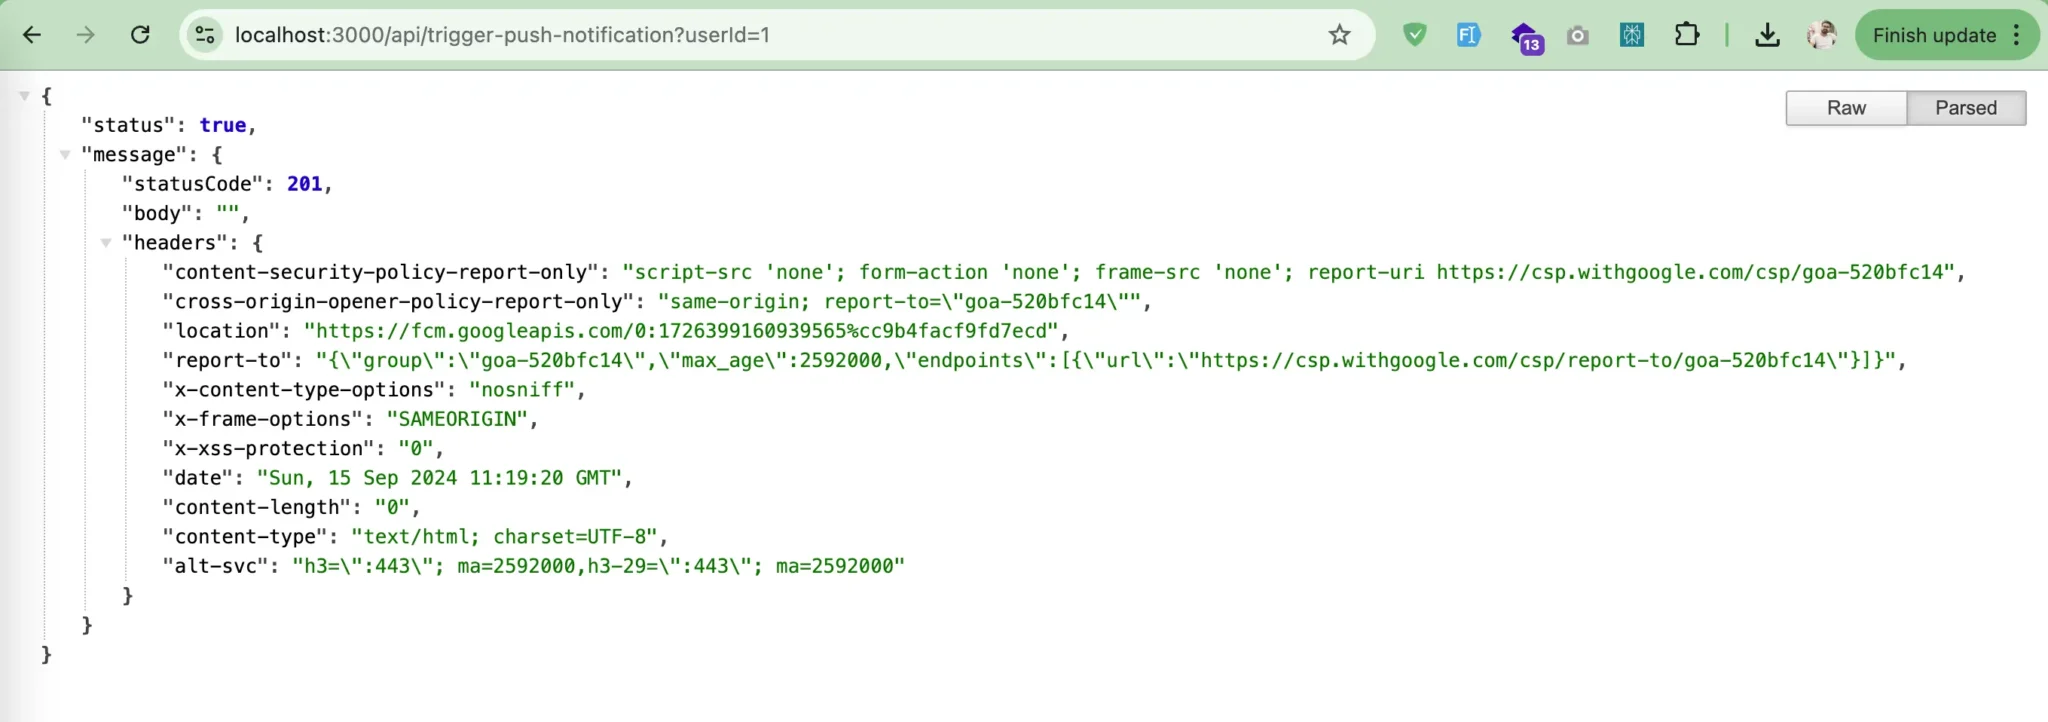
Conclusion
In this guide, we’ve walked through the process of implementing Push Notifications in NextJS application. From setting up VAPID keys and configuring the database to creating the service worker and integrating the notification component, we’ve covered the essential steps to enable real-time push notifications for your users. By following these steps, you should now have a functional push notification system in place. If you have any questions or need further assistance, feel free to comment on this post or contact me through the contact page.