
Table of contents
- Prerequisites
- Project Setup
- Implementation Steps
- How It Works
- Best Practices
- Addressing Common Challenges
- Conclusion
Prerequisites
To follow along, ensure you have:
- A Next.js project configured with the App Router.
- Google reCAPTCHA v3 API keys, obtainable from the reCAPTCHA admin console:
- Site Key: For client-side integration.
- Secret Key: For server-side verification.
Project Setup
First, create a new environment file .env in your project root:
NEXT_PUBLIC_RECAPTCHA_SITE_KEY=your_site_key_here
RECAPTCHA_SECRET_KEY=your_secret_key_hereThe NEXT_PUBLIC_ prefix makes the site key available to the client, as intended, while the secret key remains server-only. Always exclude this file from version control to prevent accidental exposure.
Implementation Steps
1. Loading the reCAPTCHA Script
reCAPTCHA v3 operates silently in the background, requiring its script to be loaded dynamically on the client. Create a file at components/ReCaptchaScript.tsx:
'use client';
import { useEffect } from 'react';
export default function ReCaptchaScript() {
useEffect(() => {
const loadReCaptcha = () => {
const script = document.createElement('script');
script.src = `https://www.google.com/recaptcha/api.js?render=${process.env.NEXT_PUBLIC_RECAPTCHA_SITE_KEY}`;
script.async = true;
script.onerror = () => console.error('reCAPTCHA script failed to load. Verify your network and site key.');
document.body.appendChild(script);
};
loadReCaptcha();
return () => {
const script = document.querySelector(`script[src*="recaptcha"]`);
if (script) script.remove();
};
}, []);
return null;
}This component loads the reCAPTCHA script on mount and includes an error handler for debugging issues like network failures or incorrect keys. The cleanup function prevents duplicate script injections during re-renders.
2. Configuring the Server Action
Next, define a Server Action to verify the reCAPTCHA token. Create :
'use server';
interface ReCaptchaResponse {
success: boolean;
score: number;
action: string;
challenge_ts: string;
hostname: string;
'error-codes'?: string[];
}
export async function verifyCaptcha(token: string): Promise<ReCaptchaResponse> {
try {
const response = await fetch('https://www.google.com/recaptcha/api/siteverify', {
method: 'POST',
headers: { 'Content-Type': 'application/x-www-form-urlencoded' },
body: `secret=${process.env.RECAPTCHA_SECRET_KEY}&response=${token}`,
});
if (!response.ok) {
throw new Error(`Verification failed with status: ${response.status}`);
}
const data: ReCaptchaResponse = await response.json();
if (!data.success) {
console.warn('reCAPTCHA verification unsuccessful:', data['error-codes']);
}
return data;
} catch (error) {
console.error('Error during reCAPTCHA verification:', error);
throw new Error('Unable to verify reCAPTCHA at this time.');
}
}This function sends the token to Google’s verification endpoint, returning a response with a success flag and a score (0.0 to 1.0). Detailed logging helps diagnose issues, such as invalid keys or network errors, which Google’s documentation highlights as common pitfalls.
3. Creating the Form Component
Now, build a form that leverages this verification. Create:
'use client';
import { useState } from 'react';
import { verifyCaptcha } from '@/app/actions/verifyCaptcha.action';
export default function ProtectedForm() {
const [message, setMessage] = useState('');
const [isLoading, setIsLoading] = useState(false);
const handleSubmit = async (event: React.FormEvent<HTMLFormElement>) => {
event.preventDefault();
setIsLoading(true);
setMessage('');
try {
const token = await (window as any).grecaptcha.execute(
process.env.NEXT_PUBLIC_RECAPTCHA_SITE_KEY!,
{ action: 'submit_form' }
);
const result = await verifyCaptcha(token);
if (result.success && result.score >= 0.5) {
setMessage('Form submitted successfully.');
// Implement additional server-side logic here (e.g., database operations).
} else {
setMessage(`Verification failed (score: ${result.score}). Please try again.`);
}
} catch (error) {
console.error('Submission error:', error);
setMessage('An error occurred during submission. Please retry.');
} finally {
setIsLoading(false);
}
};
return (
<form onSubmit={handleSubmit} className="space-y-4 max-w-md">
<input
type="text"
placeholder="Enter your message"
className="w-full p-2 border rounded focus:outline-none focus:ring-2 focus:ring-blue-500"
disabled={isLoading}
/>
<button
type="submit"
className="px-4 py-2 bg-blue-500 text-white rounded hover:bg-blue-600 disabled:bg-gray-400"
disabled={isLoading}
>
{isLoading ? 'Processing...' : 'Submit'}
</button>
{message && <p className="text-sm text-gray-700">{message}</p>}
</form>
);
}This component includes a loading state for better user feedback and a score threshold of 0.5, which can be adjusted based on your security requirements. The error handling ensures users aren’t left guessing if something goes wrong.
4. Integrating into Your Page
Update app/page.tsx to incorporate these components
import ReCaptchaScript from '@/components/ReCaptchaScript';
import ProtectedForm from '@/components/ProtectedForm';
export default function Home() {
return (
<main className="container mx-auto p-4">
<ReCaptchaScript />
<h1 className="text-2xl font-bold mb-4">Secure Form Submission</h1>
<ProtectedForm />
</main>
);
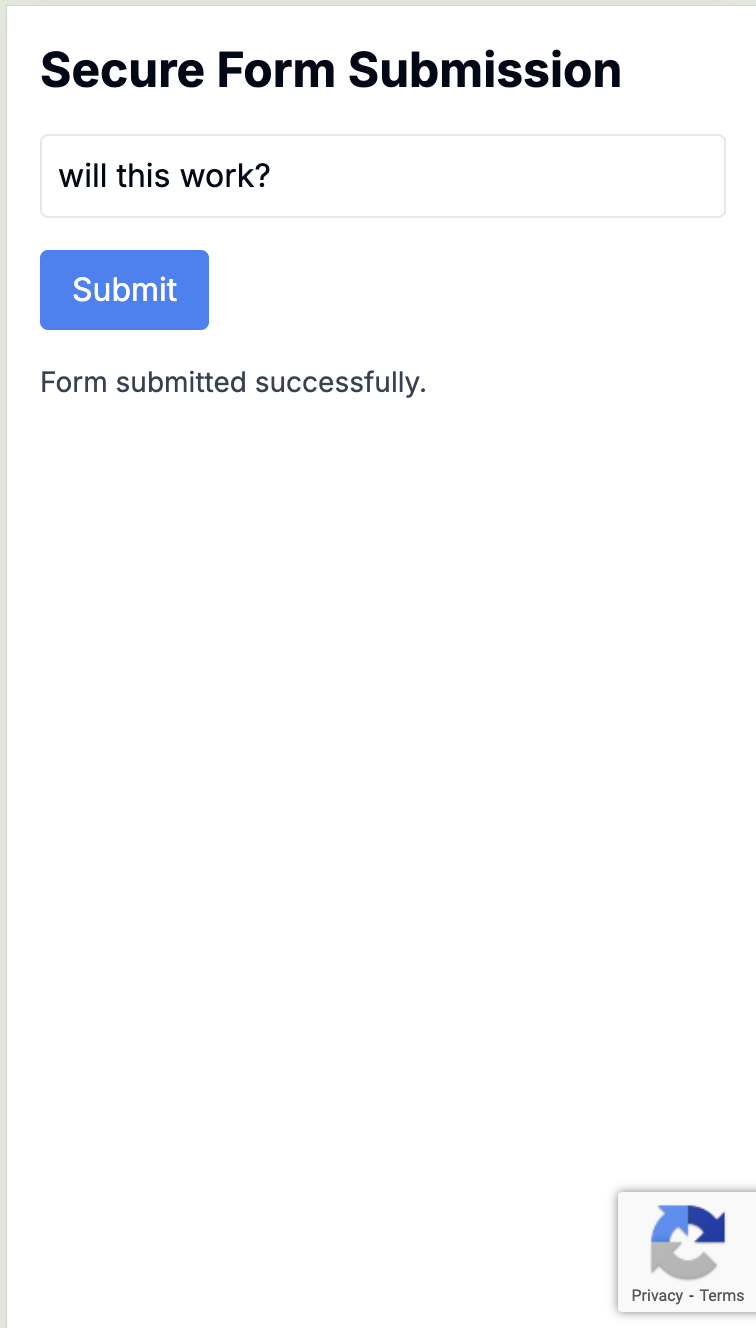
}This completes the setup, rendering a fully functional, bot-protected form. Below is a screenshot of the final result, showing the form in action:
How It Works
The process is straightforward:
- Script Initialization: The ReCaptchaScript component loads Google’s script on page load.
- Token Creation: On form submission, reCAPTCHA generates a token based on user behavior.
- Server Verification: The Server Action validates the token with Google, receiving a score and success status.
- Response Handling: The application evaluates the score to determine whether to proceed with the submission.
Unlike older reCAPTCHA versions, v3 operates without user interaction, enhancing both security and usability.
Best Practices
-
Error Handling: Always implement proper error handling for both client and server-side operations.
-
Environment Variables: Keep your reCAPTCHA keys secure in environment variables.
-
Score Threshold: Adjust the score threshold based on your security needs:
if (result.success && result.score > 0.7) { // More strict
Addressing Common Challenges
- Script Loading Failures: Implement a retry mechanism if the script fails to load:
const loadScript = async (retries = 3) => {
if (retries === 0) throw new Error('Script load failed.');
try {
// Script loading logic
} catch {
await new Promise((resolve) => setTimeout(resolve, 1000));
return loadScript(retries - 1);
}
};-
Token Expiration: Tokens expire after two minutes. Refresh them if needed
if (tokenError?.includes('timeout')) { // Generate new token const newToken = await window.grecaptcha.execute(siteKey, { action: 'submit' }); } -
Unexpected Scores: If legitimate users are flagged, review your reCAPTCHA configuration in the admin console and adjust the threshold as necessary.
Conclusion
Integrating Google reCAPTCHA v3 with Next.js Server Actions provides an effective, user-friendly approach to safeguarding your forms from automated abuse. This setup leverages Next.js’s server-side capabilities and reCAPTCHA’s risk-based scoring to deliver security without compromising experience.
For optimal results, secure your keys, refine your score thresholds, and consult the reCAPTCHA v3 documentation and Next.js Server Actions reference as needed.